When remodeling our homes, we like to think of the big picture. We create big projects that involve loads of paint but we usually paint the obvious choices: walls of a bedroom or living room, the entire kitchen cabinet and cupboards, etc. But have you ever looked at a room in your home and thought “I want to add some type of decoration but don’t want to remodel the whole place.”
Maybe you just want to add a hint of color to something but don’t know what. Take a look at some of the unique places and techniques we’ve listed below. They’re not usual spots we’d normally paint, but they sure do make an aesthetically pleasing difference.
#1. Paint the sides of your dresser’s drawers to get a pleasant surprise whenever you pull out a drawer for something.

#2. Or remover one of the drawers completely and paint the inside to recreate this unique piece.

#3. Who said your garage has to be left the way it is? Make it homey, paint some doors and/or walls.

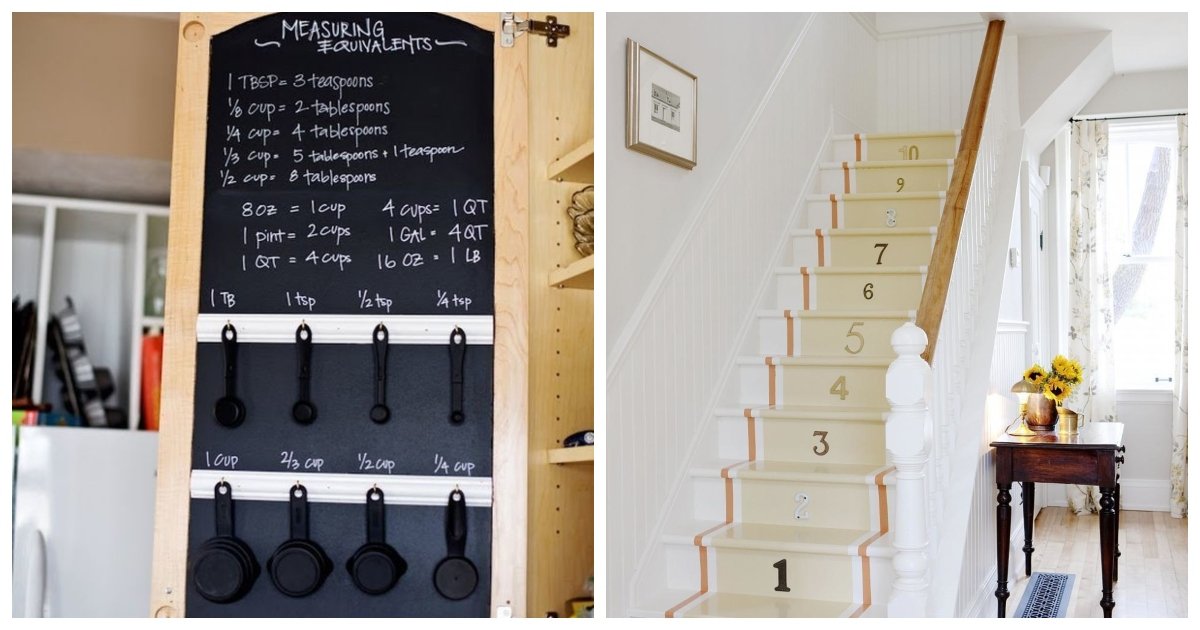
#4. Try painting the stairs. You can paint just the risers, the platforms, or the whole thing.

#5. Paint the inside of a small coat closet as a simple and cute accent.

#6. How about painting your entire dresser with chalkboard paint so you can label each drawer with chalk what’s inside of it.

#7. Paint the edges of your door for a subtle hint of color.

#8. Paint the inside of your kitchen cabinets any color of your choice for a sleek looking kitchen.

#9. And use chalkboard paint again to paint the insides of cabinet doors to help organize your kitchen.

#10. Paint your window trims to add a colorful touch to any room.

#11. Paint your door bell. As unconventional as it sounds, it actually does make a change to the whole vibe a person gets when approaching your front door.

#12. Paint the back of a bookcase, what better way to showoff your books than in front of a bold solid color?

#13. Give your desk a makeover and paint the inside of its drawers and cabinets!

#14. Don’t ex out chairs, you can paint them too!

#15. Paint along the edges of a canvas to give it some pizzazz if it’s a black and white painting or a neat end if it’s a colorful masterpiece.

Bonus: Creative DIY Projects With Everyday Items
Tuna Can-dle Display
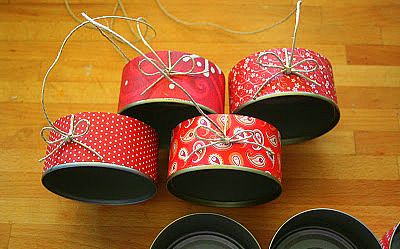
Dress up a tuna can
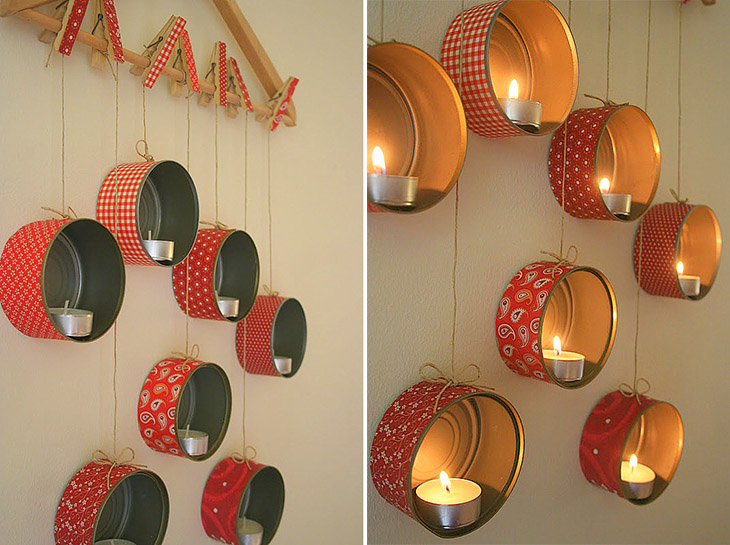
The last thing you may think of when creating a tea light candle display is to use tuna cans! This project needs six empty tuna cans and decorative paper to wrap around each one. Glue on some decorative string or ribbon as well to hang the cans on a wooden hanger.
Clip on and add a collection of tea lights
Use clothespins to clip each can to the hanger. Place a tea light inside the decorative cans.
Magazine Quilt Display
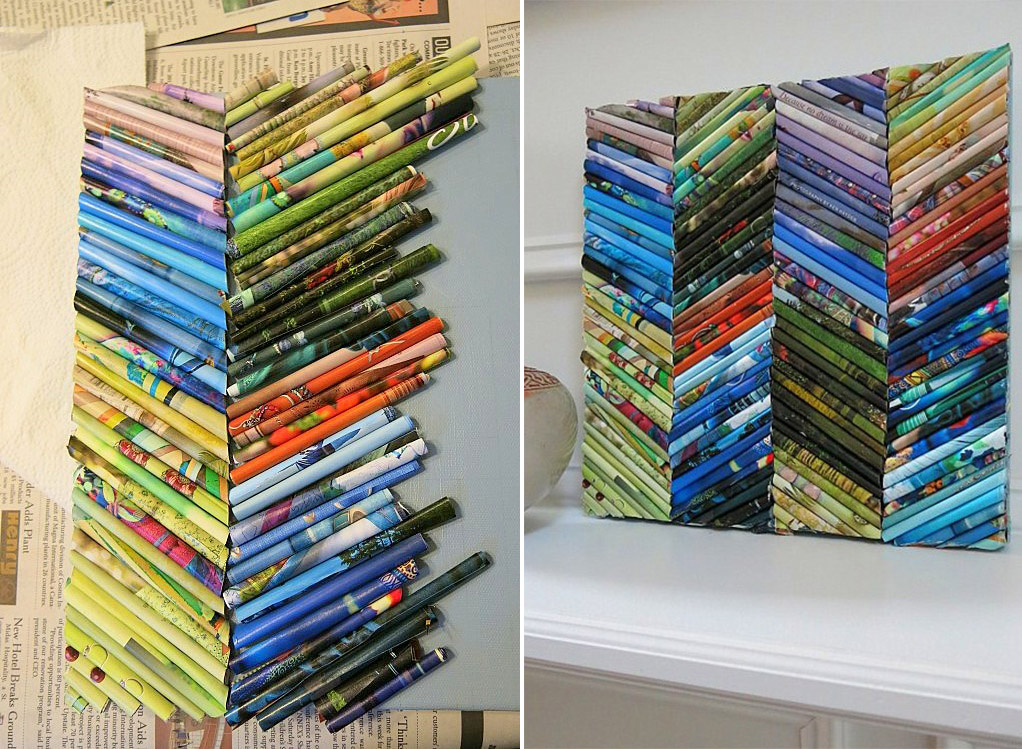
Roll paper for instant decor
Magazine pages add a variety of color when used for a quilt block display. No need to sew this quilt, but simply roll each page and use a glue stick to hold together. Glue each rolled page to stretched canvas or sturdy cardboard. You can also use sturdy wrapping paper for this project!
Glass Bottle Ombre-Style Vases
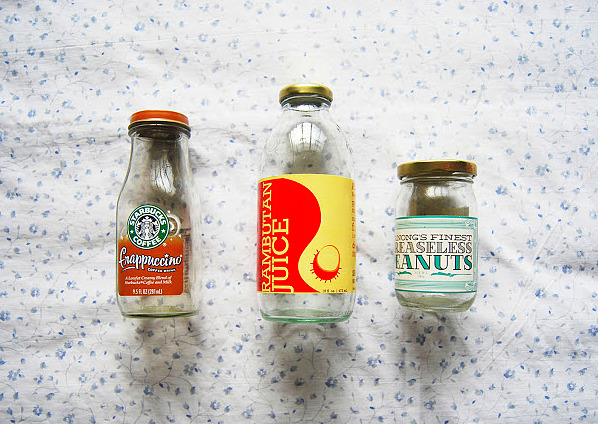
Reuse glass bottles
Peel the labels off of the glass bottles, then wash and dry.
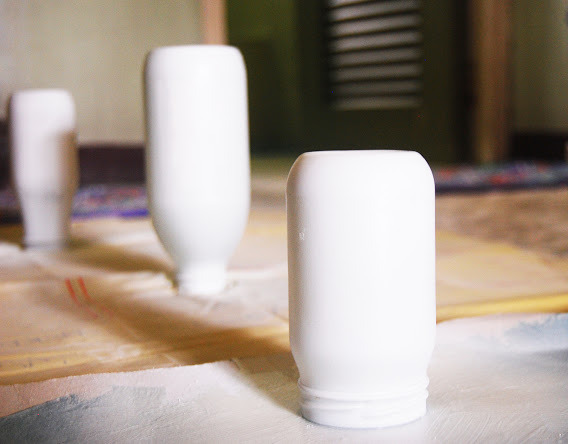
Paint it white
Place the bottles upside down on newspaper and spray two coats of white paint with a flat finish.
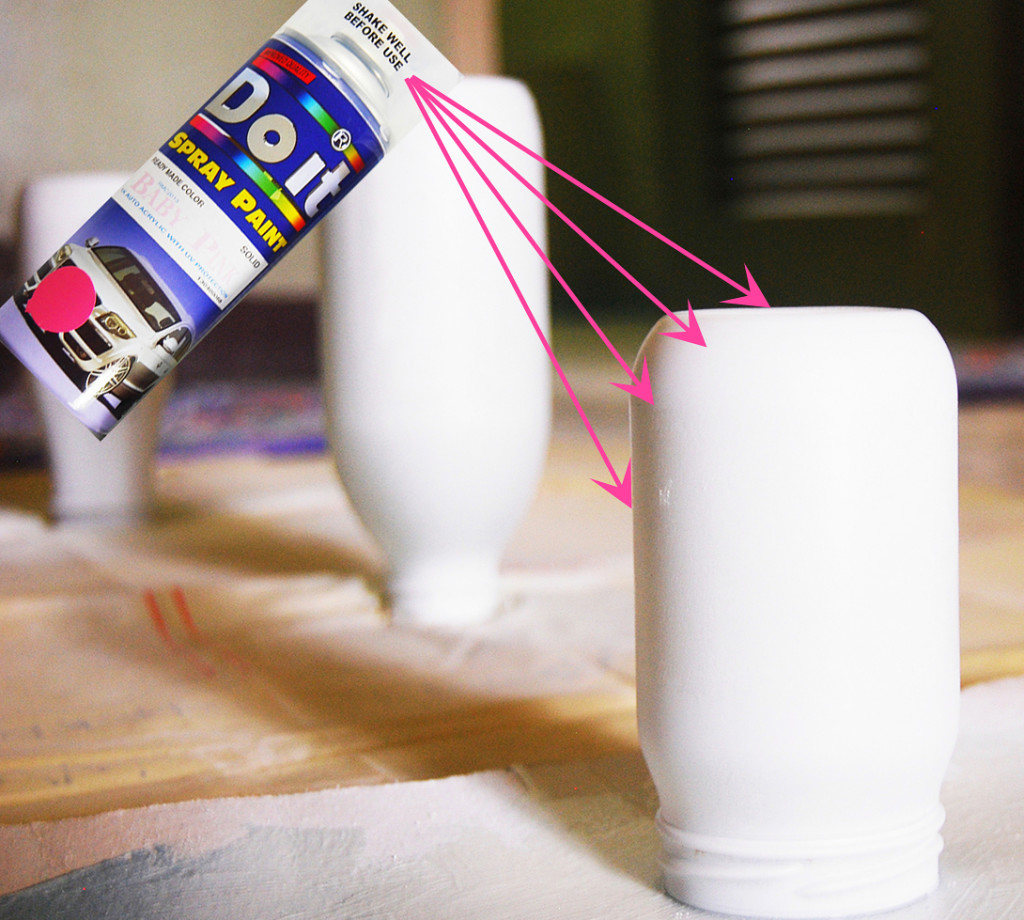
Choose an accent color
Take an accent color and spray paint the bottle from the base at an angle about 10 inches away to just cover half of the glass jar.
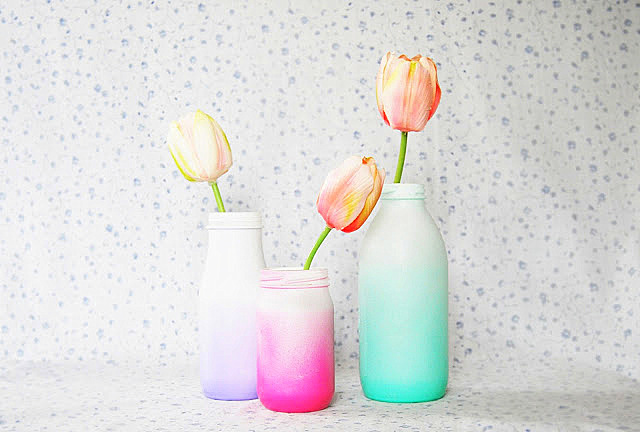
Ombre style complete!
These vases have a cool effect with the darkest color at the base and lighter towards the top.
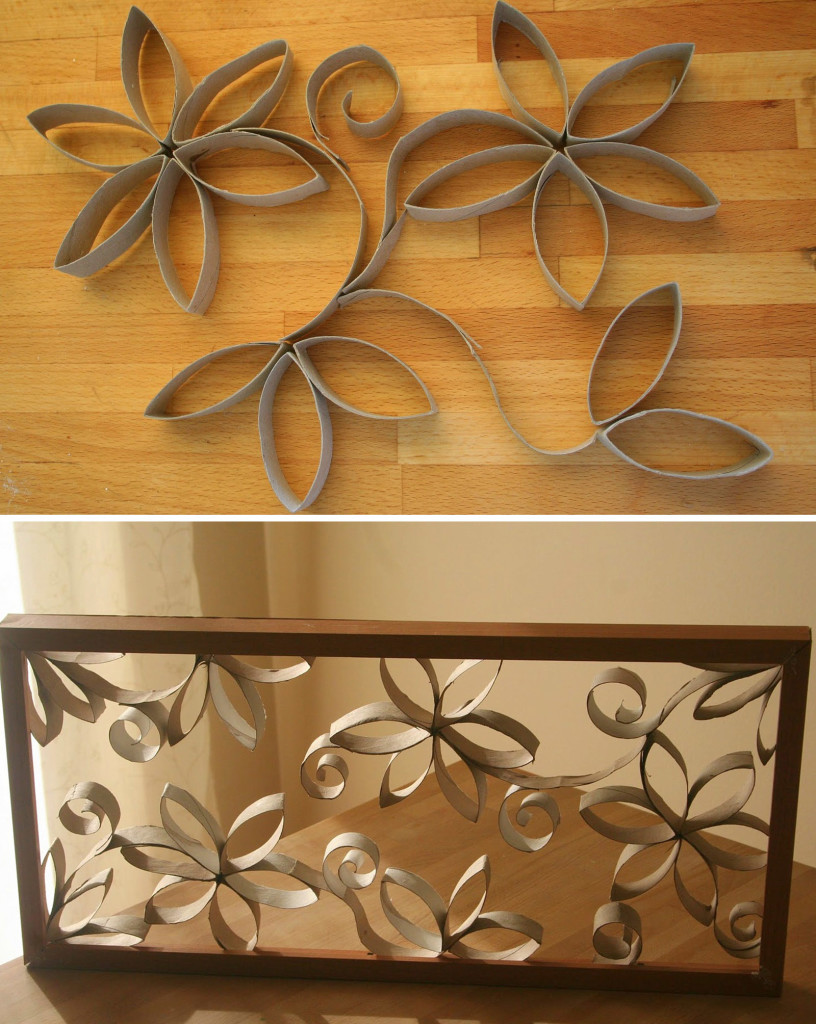
“Wrought” Iron Toilet Paper Art
Fold and bend toilet paper rolls
It is surprising that this art isn’t made out of wrought iron, but toilet paper rolls! Cut each roll of toilet paper into four equal strips. Bend these strips to look like petals and leaflets. Glue each piece together and glue to the inside of an empty picture frame.
Spray paint for a faux wrought-iron appeal
Spray paint the toilet paper strips and frame to complete the look.
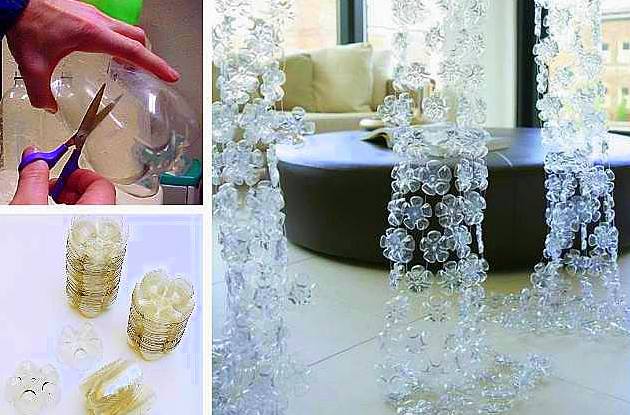
Plastic Bottle Curtains
Just need the base
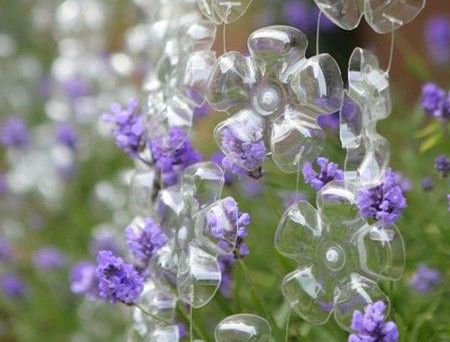
How can decorative flowers be made of plastic bottles? By using just the base. Cut the bottom section of the plastic bottles and poke metal rings, nylon wire, or tag ties through each one to connect each plastic flower together.
Hang on a curtain rod
Place curtain rings at the top of each strand and hang from a curtain rod. Very creative!
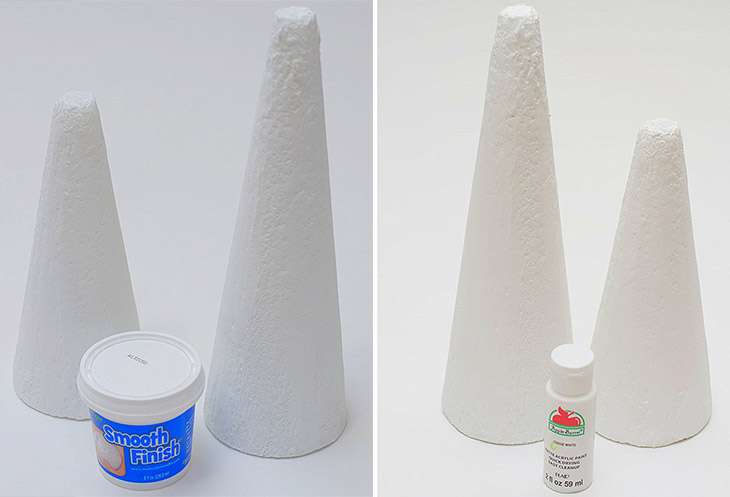
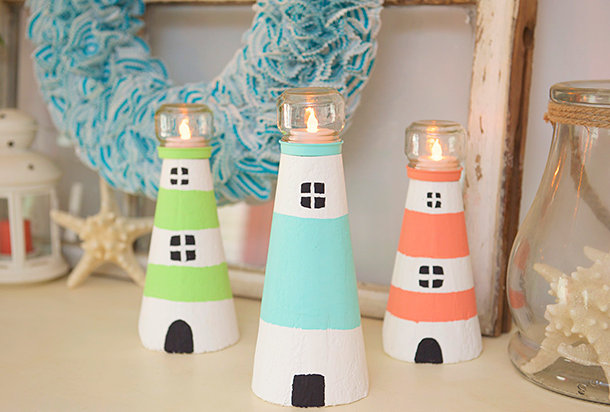
Decorative Lighthouses
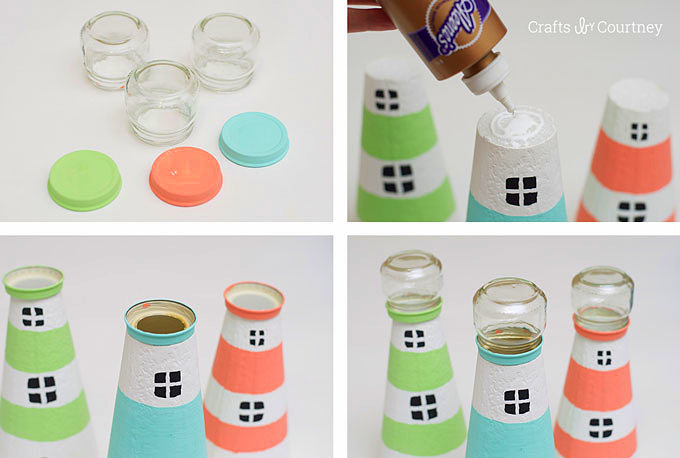
Glass baby food jars and styrofoam cones
Use a glass baby food jar as the window and a styrofoam cone as the base for a decorative lighthouse. First, spread Smooth Finish over the cone and then paint it with white acrylic paint.
Form the base of the lighthouse
Cut the top of the styrofoam and use acrylic paint to make colorful stripes and black windows.
Paint and glue the lid
Paint the baby food jar lid to match the color of the lighthouse. Glue the lid on top and let dry, then screw on the glass jar.
Let it glow!
Place a tea light candle inside the glass jar for a soft glow.
Update A Paper Lantern
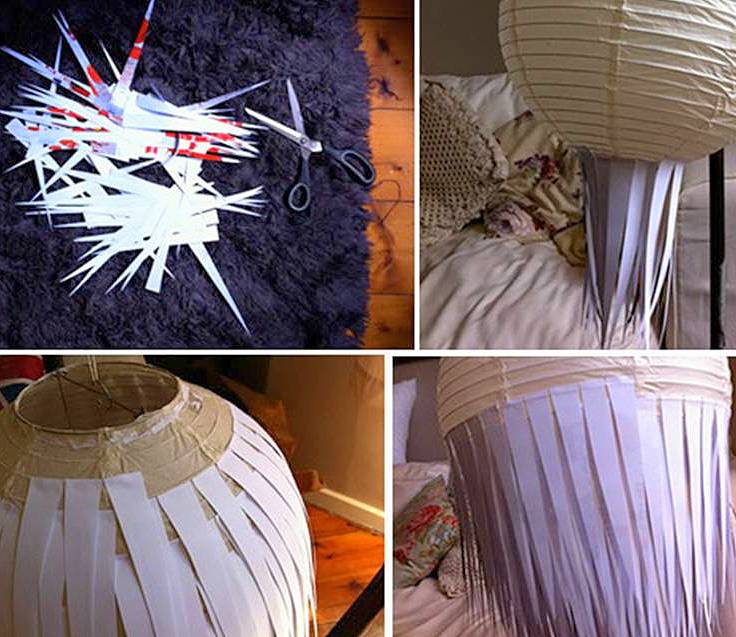
Cut strips of magazine pages
If you have a classic, round paper lantern, you can easily update it with strips of magazine pages. Cut strips of paper in long, triangular shapes and attach to the outside of your round paper lantern. Start from the bottom and work your way up with layering the strips.
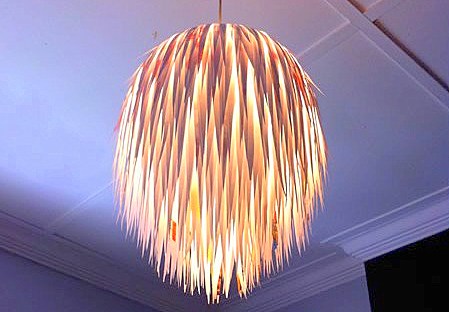
Li’l more on the wild side
The strips of magazine pages give a fun updated look to your round paper lantern. This would be fun for a child’s play room or patio!
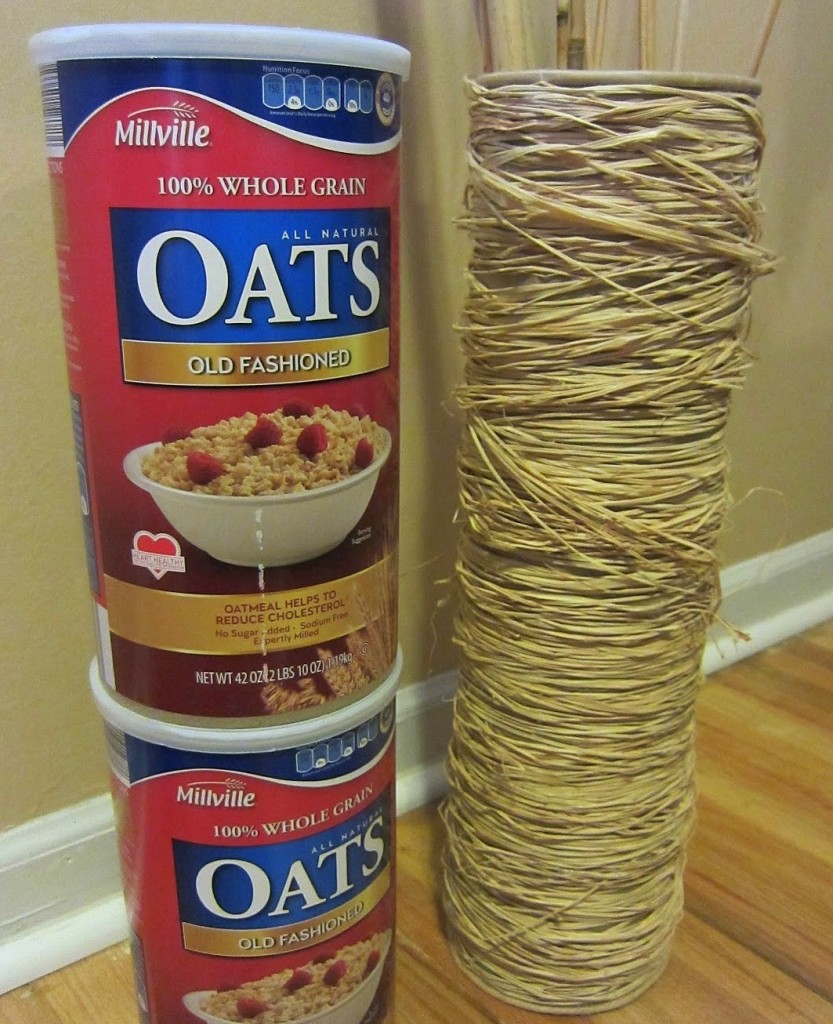
Oatmeal Canisters Turn Into Raffia Vase
Make your own vase by peeling the labels off of two empty oatmeal canisters and remove the bottom from one canister. Stack on top of each other and tape the two canisters together. Wrap the raffia around the canisters and use a hot glue gun as you go to keep the raffia in place.
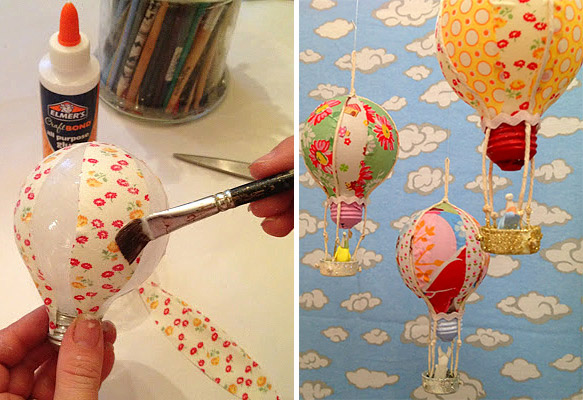
Hot Air Balloon Bulbs
Reuse old light bulbs
Before you get rid of an old light bulb, consider turning it into a fun hot air balloon that looks great in a child’s room. These are made with colorful fabric and hung with clear elastic string. Bottle caps are used as a basket to place small polymer animals inside.
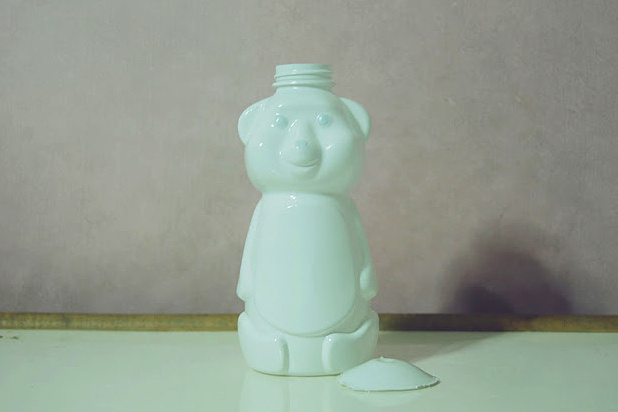
Honey Bear Night Light
Use a plastic honey bear
This fits in perfectly with a child’s room! Start by cutting out the bottom of the plastic honey bear and remove the cap.
Paint it white!
Spray three coats of white paint on the bottle.
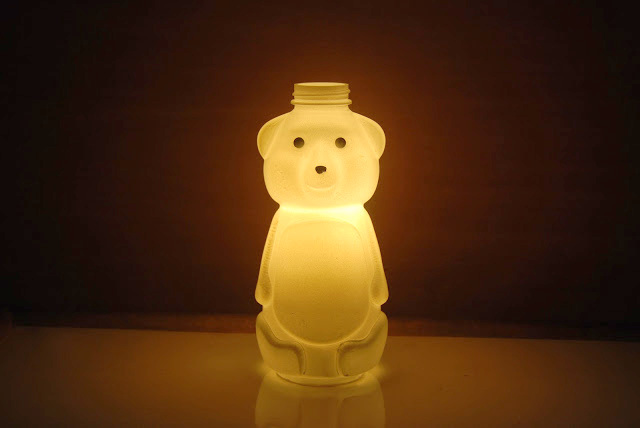
Time for the light
Let it dry then place a small LED light or battery-operated tea light inside.
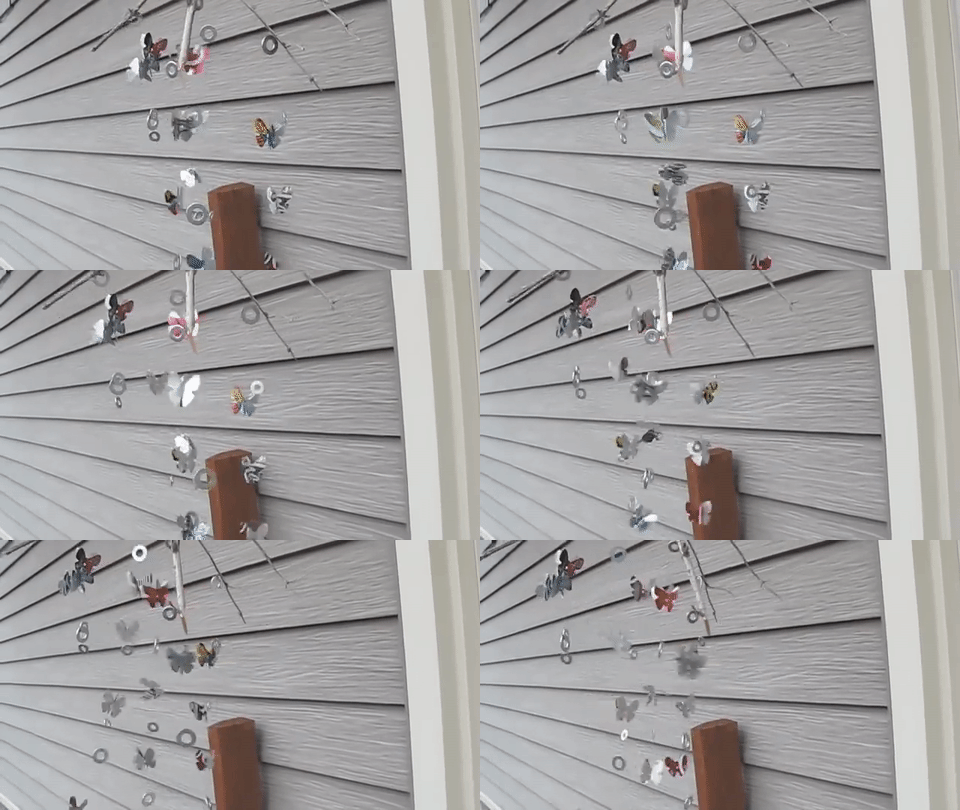
Soda Can Butterfly Wind Chimes
Soda cans turn into butterflies
For this project you will need soda cans, a butterfly punch, clear thread and sewing needles, metal washers, twigs, twine, and a single hole punch.
Watch the full tutorial to make these eye-catching wind chimes!


